Laser accessories
Honeycomb Beds and Laser Workholding: Flat Stock, Clean Backs, No Flare
Updated July 7, 2026
Half of 'my laser won't cut through' complaints are really workholding problems: warped plywood lifting out of focus, smoke with nowhere to go, and flashback scorching the back of every piece. A honeycomb bed and $20 of pins fix all three at once.
Some links on this page are affiliate links. If you buy through them, The Maker Guide may earn a small commission at no extra cost to you. We only point at product categories we would compare ourselves. Details.
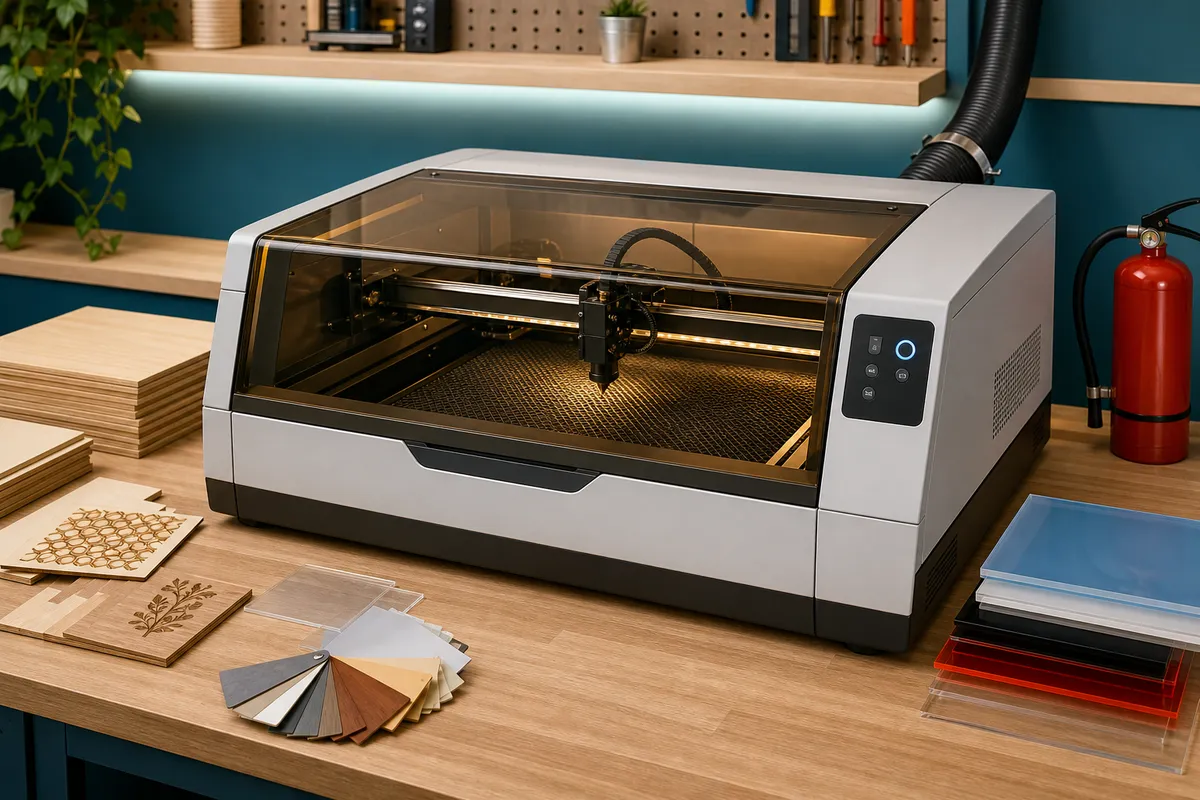
What the honeycomb actually does
Three jobs in one aluminum slab. Airflow: the open cells let smoke and heat escape below the cut instead of pooling in the kerf, which is worth a visible edge-quality improvement on plywood. Flashback control: cutting over a solid surface reflects the beam back onto the workpiece's underside, leaving burn blooms around every cut line — cells eliminate the reflection surface. Flatness: it gives warped stock something to be pinned flat against, and most kits include a steel base plate that catches fall-through parts and enables magnets.
For open-frame diode machines it also adds a fireproof floor over your table, which is reason enough on its own — see the safety checklist for the rest of that story.
Sizing and choosing one
Buy the honeycomb to your machine's working area, not its frame footprint — a 400 × 400 mm machine wants a ~400 × 400 mm comb (the common sizes: 300 × 200 for small CO2 machines, 400 × 400 and 500 × 500 for diode frames). Check the height: comb plus steel plate raises your stock 20–25 mm, which eats focus range on some diode modules; machines with short focus travel may need riser feet at the same time.
Cell size barely matters for hobby work (6–7 mm is standard). Thickness does: sub-10 mm combs sag over time; 12 mm+ stays flat. Steel base plate included is the feature to insist on — it's what your magnets grab.
The workholding kit
Honeycomb bed with steel base plate
The foundation: airflow, flashback control, and a fireproof work surface. Match your machine's working area and check total height against your focus range.
See options on Amazon →Laser hold-down pins (set)
Purpose-made plastic or aluminum pins that wedge into honeycomb cells and clamp stock edges flat. The four-for-$15 version of a solved problem — buy more than you think; big warped sheets want six to eight.
See options on Amazon →Small neodymium magnets with handles
Fastest hold-down for interior areas the pins can't reach (they grab the steel base plate through the comb). Keep them well clear of the cut path — they're tall enough to hit the laser head.
See options on Amazon →Non-slip sewing weights or steel bars
For engraving jobs where nothing gets cut through: weight beats clamping for speed, and flat steel bars stay under the head's travel height.
See options on Amazon →Masking tape, 2–3 in wide
Application tape on the top face prevents smoke staining on light woods and acrylic; on the bottom, it further reduces flashback marks on show faces. Cheap insurance on anything you'll sell.
See options on Amazon →Flattening warped stock, in escalating order
- Pin the high corners first, then work around the perimeter — most 3 mm ply flattens with four pins.
- For a stubborn crown in the middle, add magnets beside (never inside) the cut layout.
- Cut the sheet into smaller blanks first: a 300 mm square of warped ply fights you; four 150 mm squares lie flat.
- Flip the sheet so the crown points down — pins hold a dome's edges far better than a bowl's.
- If focus still varies more than ~1 mm across the job, the stock is beyond holding: buy flatter material — Baltic birch stays flat; big-box underlayment doesn't.
When you don't need one
Engraving-only work on flat, heavy stock (slate, glass, tumblers on a rotary) gains nothing from a comb — weight the piece and go. And CO2 machines with factory knife or honeycomb beds already solve this. The comb is specifically transformative for open-frame diode owners cutting sheet goods, which is most of the budget-laser crowd.
Frequently asked questions
Does a honeycomb bed really improve cut quality?
On through-cuts in plywood and acrylic, visibly: better under-cut airflow means less charring on the bottom half of the kerf, and no flashback blooms on the back face. On engraving it changes nothing — its value scales with how much cutting you do.
Why is the back of my plywood scorched around every cut?
Flashback: the beam passes through the kerf, hits whatever solid surface is below, and reflects heat back onto the underside. Cut over a honeycomb (or at minimum, prop the stock on standoffs) and mask the back face of show pieces.
Can I just use a metal grid or old oven rack instead?
Better than a solid table, worse than a comb: coarse grids leave reflection lines where the beam crosses bars, and nothing grips pins or magnets. As a free interim, prop stock on ~10 mm standoffs; buy the comb when cutting becomes routine.
Will the laser damage the honeycomb?
Slowly and cosmetically. Aluminum comb scatters the defocused post-kerf beam rather than absorbing it; expect surface discoloration over months, not failure. Keep the steel plate under it clean of debris — resin and tape scraps there are the actual fire risk.
Do magnets affect the laser or motors?
Not the beam at all, and the stepper motors don't care at hand-magnet scale. The real hazard is mechanical: a tall magnet inside the head's travel path gets hit at full speed. Place them, then jog the head through a dry frame run before firing.