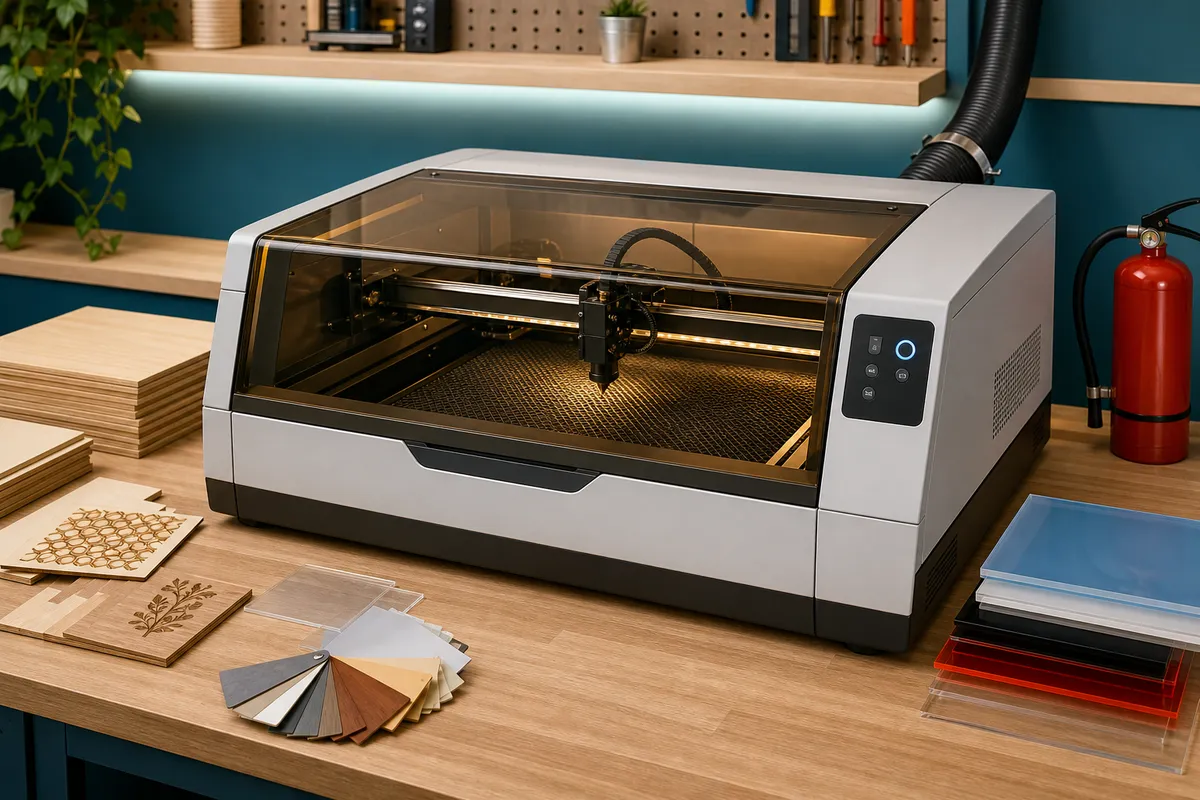
Laser setup
Laser Air Assist Setup for Cleaner Cuts
Updated June 11, 2026
Air assist is a focused stream of air at the cut line. It clears smoke from the kerf, suppresses flare-ups, protects the lens, and on a diode laser is often the difference between a brown smoky edge and a clean cut that finishes in half the passes.
Some links on this page are affiliate links. If you buy through them, The Maker Guide may earn a small commission at no extra cost to you. We only point at product categories we would compare ourselves. Details.
What it does (and doesn't)
In the kerf, smoke and vaporized material sit in the beam path and absorb laser energy. Air assist blows that out of the way, so more of the beam reaches the material — that's the whole magic. It also starves small flare-ups and keeps residue off the lens cover.
What it doesn't do: replace ventilation, make unknown plastics safe, or turn a 5 W module into a cutter. It's one part of a controlled setup — clean optics, tested materials, exhaust, and conservative settings.
Match airflow to the job
| Job | Air goal | Typical setup |
|---|---|---|
| Engraving wood | Light smoke clearing without blasting soot across the surface | Low flow — small pump or regulated compressor turned down |
| Cutting plywood/basswood | Strong focused stream at the kerf | Nozzle + steady 20–30 L/min class output |
| Cutting acrylic (CO2) | Moderate air + strong exhaust — too much air can flame-polish badly | Regulated flow; ventilation does the heavy lifting |
Choosing the air source
Diaphragm pumps sold in air-assist kits are the default: quiet enough, oil-free, sized right for diode nozzles. Aquarium pumps work for light engraving duty but run out of pressure for cutting. Shop compressors deliver plenty but need a regulator, a moisture/oil filter (water spots on lenses are a real failure), and tolerance for the recharge noise mid-job.
Whatever the source, the nozzle is what makes it 'air assist' rather than 'a fan near the laser.' The stream must reach the cut line — a proper nozzle on the laser head, not a tube zip-tied in the general direction of the work.
Tubing without losing steps
Route the air line along the same path as the laser's cable chain or overhead support, with a service loop. A dragging hose adds load the small steppers will eventually lose steps over — if your engravings develop a mysterious skew after adding air assist, the hose is the suspect. Check the line for kinks at the gantry's travel extremes before every long job.
Dial it in with a test grid
Hold material, focus, speed, and power constant; cut the same small shape at low, medium, and high airflow. Compare top-surface staining, bottom-edge cleanliness, kerf width, and flame behavior. More air is not monotonically better: past the sweet spot you scatter soot across the top face and cool the cut. If the bottom is cleaner but the top got dirty, try masking tape on the show face or a better nozzle angle before more pressure.
Log the winner next to your speed/power settings. Air assist is a third axis of your settings chart, not an on/off switch.
Air assist shopping list
Air assist kit (pump + tubing + nozzle)
Matched kits take the guesswork out of fittings. Confirm nozzle compatibility with your specific laser head before ordering.
See options on Amazon →Quiet diaphragm air pump
If you piece it together: 20–30 L/min class, adjustable, oil-free. Quieter pumps get used; loud ones get 'forgotten.'
See options on Amazon →Inline moisture filter
Mandatory for shop-compressor feeds — water droplets on a hot lens window end lenses.
See options on Amazon →Maintenance rhythm
A clogged nozzle mimics a weak laser — smoke lingers in the beam path and cuts degrade. When quality slips, the checklist is: clean lens cover, verify airflow at the nozzle by hand, check tubing for kinks, then worry about the diode. Keep spare tubing and fittings in the laser drawer so a cracked elbow doesn't end a project night.
Frequently asked questions
Does air assist help with engraving or only cutting?
Both, differently. For cutting it's transformative — cleaner kerfs, fewer passes, less charring. For engraving, light airflow keeps smoke off the lens and prevents haze staining, but too much air scatters soot across the engraving. Low flow for engraving, strong flow for cutting.
Can I use an aquarium pump for air assist?
For engraving duty, yes — quiet and cheap. For cutting, most aquarium pumps lack the pressure to drive a focused nozzle; you'll see little improvement and conclude air assist 'doesn't work.' A purpose-sold diaphragm pump kit is only slightly more expensive and actually does the job.
Why are my cuts worse after installing air assist?
Usual suspects: the nozzle is misaligned (stream missing the kerf), the added hose is dragging the gantry, or the airflow is so high it's cooling the cut. Verify the stream hits the cut line at focus height, re-route the hose with a service loop, and run a low/medium/high test grid.