Laser accessories
Laser Rotary Attachments: Engraving Tumblers, Glasses, and Anything Round
Updated July 7, 2026
A rotary attachment turns the laser's Y axis into rotation, so cylinders engrave as if they were flat. It's the gateway to the single most commercial thing a hobby laser does — personalized tumblers — and the setup has exactly two gotchas: taper and slippage. Both are solvable for under $100.
Some links on this page are affiliate links. If you buy through them, The Maker Guide may earn a small commission at no extra cost to you. We only point at product categories we would compare ourselves. Details.
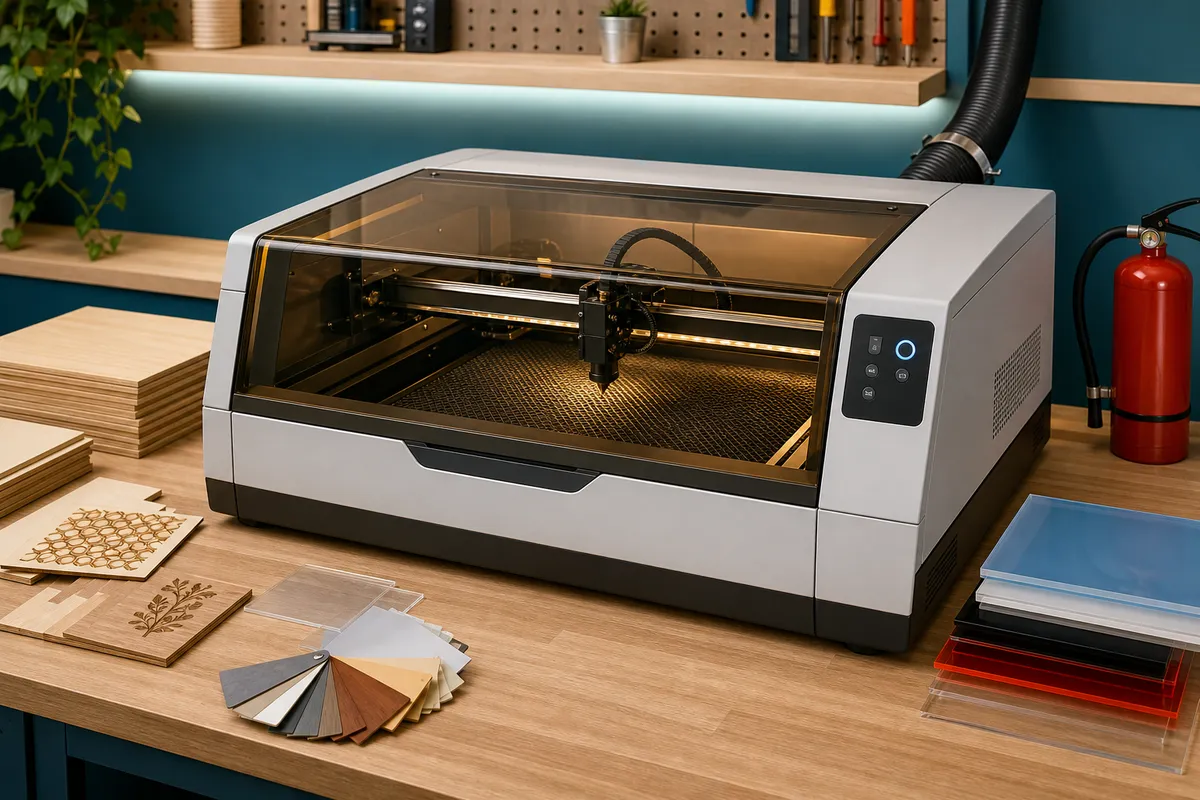
How a rotary works
You unplug the Y-axis motor and plug the rotary into that port; the controller now spins the workpiece instead of moving the gantry. Software-side, LightBurn's rotary mode asks for one number — steps (or mm) per rotation — and the object's diameter, then maps your flat artwork around the cylinder. The laser itself doesn't know anything changed.
Check compatibility before buying: your machine needs an accessible Y-motor connector and firmware that tolerates the swap (all common GRBL diode lasers and Ruida-controlled CO2 machines do). Machine-brand rotaries (xTool, Atomstack, Sculpfun, OMTech) ship with the right plug; generic ones may need an adapter cable.
Chuck vs roller: the real difference
| Roller rotary | Chuck rotary | |
|---|---|---|
| How it holds | Object rests on spinning wheels | Three/four-jaw chuck grips one end |
| Tapered cups | Slip and drift — the classic ruined tumbler | Held rigid; taper handled by tilting the rotary |
| Odd shapes | Anything that rolls: bottles, mugs (handle up) | Anything grippable: rings, flashlights, mug handles |
| Setup speed | Drop it on — fastest | Chuck and center each piece |
| Price | $60–120 | $130–250 |
| Best for | Straight-walled cups, bottles, high volume | Tapered tumblers, mugs with handles, mixed work |
The taper problem (and the $0 fix)
Most 20 oz tumblers taper a few degrees, so on a roller the engraving surface isn't parallel to the laser's travel — focus drifts across the design, and gravity walks the cup along the rollers mid-job. The fix is to shim or tilt so the engraved surface sits level: chuck rotaries tilt on a built-in foot; for rollers, shim one end and add grip (heat-shrink bands or silicone tape on the rollers stops the walk).
Focus still only touches the top line of the cylinder perfectly. Keep designs under ~90° of wrap per pass for deep-focus diode work, or refocus for wide wraps on tight-focus machines.
The tumbler-engraving kit
Chuck-style rotary with tilt base
The buy-once answer: grips tapered tumblers rigidly, tilts to level the surface, and handles rings to wine bottles. Verify the connector matches your machine brand.
See options on Amazon →Roller rotary
The budget entry, excellent for straight-walled cups and bottles. Pair with silicone roller bands if yours slips on powder coat.
See options on Amazon →Powder-coated tumbler blanks (case)
Powder coat over stainless is the perfect diode-laser material — the laser strips the coating to bright metal for crisp, dishwasher-proof marks. Buy blanks by the case; singles kill margins.
See options on Amazon →Riser feet / Z extension for your laser
A rotary plus a tumbler is tall. Most diode frames need risers to clear it — check your machine's height over the bed before the rotary arrives, not after.
See options on Amazon →Digital calipers
Rotary mode needs the true diameter, and 'about 3 inches' produces visibly squashed artwork. Measure every blank style once.
See options on Amazon →First-tumbler settings that work
- Enable rotary mode in LightBurn, enter your rotary's steps-per-rotation (from its manual) and the measured cup diameter. Run the built-in test: a 360° rotation should return the seam to exactly the start.
- Level the engraving surface with the tilt foot or shims; set focus on the top of the cup at the artwork's center.
- For powder coat on a 10 W diode: start near 70% power / 3000 mm/min / 0.08 mm interval and tune on the bottom of a sacrificial cup.
- Tape a small weight or use the tailstock on long pieces — an unbalanced handle or asymmetric blank causes rhythmic banding.
- Run with air assist off or very low for coating-removal work; strong air scatters powder-coat dust across the lens.
The business math
A $6 blank plus 20 minutes of machine time sells personalized for $25–40, and names/logos/monograms never go out of demand — this is why the rotary is usually the first accessory that pays for itself. If you want to test the workflow before buying anything, the laser setups at The Makr Lab include rotary work, and watching one job answers most setup questions.
Frequently asked questions
Do rotary attachments work with diode lasers or only CO2?
Both. Any diode machine with a pluggable Y motor and LightBurn support runs a rotary fine. The difference is material: diodes excel at powder-coated and anodized metal cups; bare glass wants a CO2 (or a coat of tempera paint as an absorber on a diode).
Can I engrave a mug with a handle on a roller rotary?
Awkwardly at best — the handle hits the rollers each rotation, so you're limited to designs narrower than the gap between handle sweeps. Chuck rotaries hold the mug by the rim or base with the handle clear; if mugs are the plan, buy the chuck.
Why does my engraving look stretched or squashed around the cup?
The diameter or steps-per-rotation setting is wrong — circumference errors scale the artwork horizontally. Measure diameter with calipers at the engraving height (tapered cups differ top to bottom) and re-run the rotary calibration test.
Are powder-coated tumblers dishwasher safe after engraving?
The engraving itself is — you've exposed bare stainless, which is more durable than the coating. Quality powder coat survives dishwashers; cheap blanks may cloud. Buyers ask this constantly, so test one blank from each supplier through 20 cycles and put the answer in your listing.
Can I engrave glass with a rotary?
On CO2, yes — glass frosts beautifully at low power. On a diode, bare glass transmits the beam; the workaround is coating the area with dark tempera paint or a specialized marking spray, engraving through it, and washing it off. Results are good but add a step per piece.