Laser materials
Best Materials for Diode Laser Engraving and Cutting
Updated June 11, 2026
A diode laser's blue 450 nm beam loves dark, dry, organic surfaces and bounces off clear and pale ones. That single fact sorts every material into three piles: works great, works with tricks, and never — here's each pile with settings context.
Some links on this page are affiliate links. If you buy through them, The Maker Guide may earn a small commission at no extra cost to you. We only point at product categories we would compare ourselves. Details.
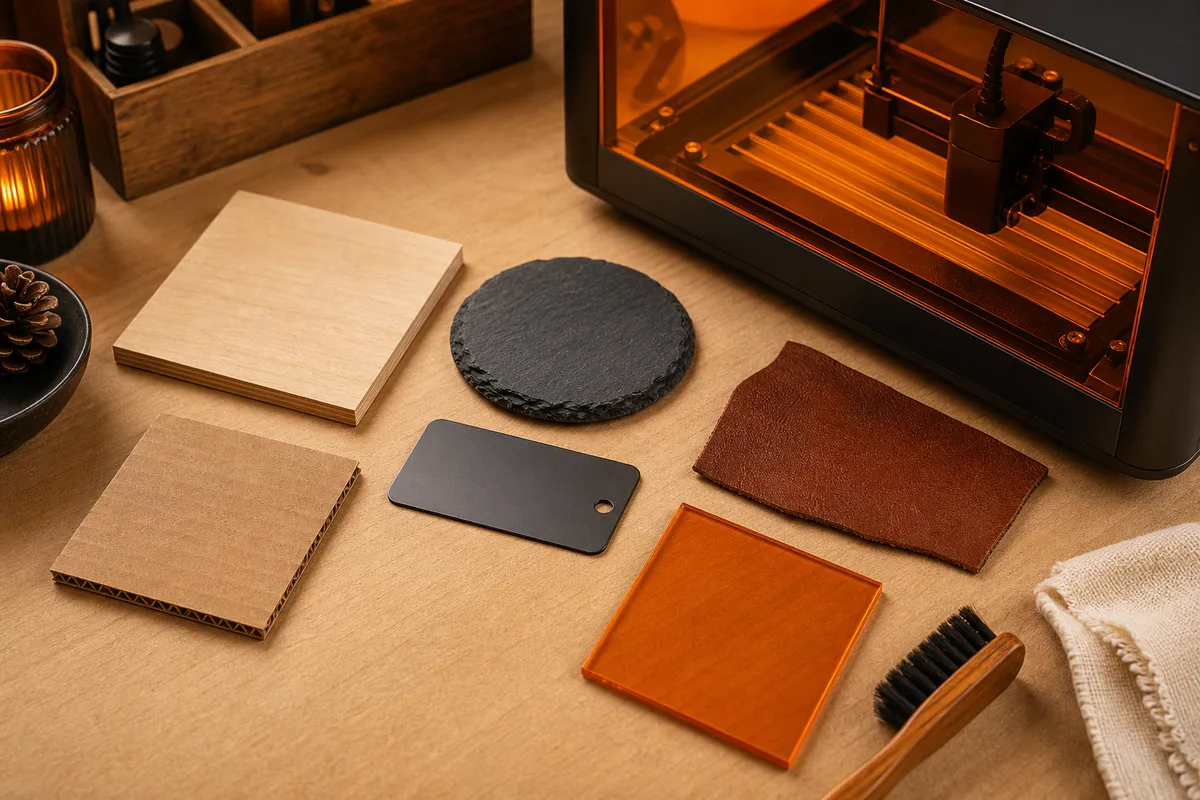
Works great (build your projects here)
| Material | Engraves | Cuts (10–20 W class) | Notes |
|---|---|---|---|
| Basswood | Beautifully — even tone, low resin | 3–6 mm easily | The diode default; buy flat, dry sheets |
| Plywood (birch, laser-grade) | Well — watch glue lines | 3 mm easy; 6 mm with passes + air assist | Interior glue chars cleaner than exterior |
| Solid woods (alder, cherry, walnut) | Excellent contrast on lighter woods | Thin stock only | Resin pockets in pine flare — stay close |
| Slate | Bright gray-on-dark marks | No (engrave only) | Coasters: wipe with mineral oil after for contrast |
| Cardboard / chipboard | Fine | Effortless | Most flammable thing you'll cut — never unattended |
| Laserable leatherette | Crisp logo patches | Yes, thin | Only material explicitly sold laser-safe (real 'vinyl' is banned) |
| Cork | Good | Yes, thin | Trivets, coasters, gasket-ish parts |
| Anodized aluminum | Bright white marks | No | Tumblers and dog tags — the rotary's favorite |
| Painted/coated metals | Removes coating for contrast | No | Test corner first; coatings vary wildly |
Works with tricks
Pale woods and white surfaces reflect blue light; a light mist of dark marking spray (or even dry-moly) gets the burn started. Glass and stainless mark via coating tricks — marking sprays like LBT-100/Brilliance-class products, or the wet-newspaper trick on glass — results vary, test first. Black acrylic engraves and sometimes cuts on strong diodes, but fumes and melt-edges make it a CO2 material in practice; clear acrylic is flatly impossible (the physics).
Mirror-finish metals are a special warning: they reflect enough beam to damage the machine or eyes. Engrave coated or anodized versions instead.
Never (the ban list)
PVC and anything chlorinated (most faux leathers and 'vinyl'), polycarbonate, ABS, fiberglass boards, and unidentified plastics. The failure isn't bad results — it's corrosive, toxic gas. The full reasoning and the copper-wire test live in our safety checklist; the practical rule is buy materials sold as laser-safe and treat mystery plastic as PVC.
Buying material that behaves
Flatness is the spec nobody lists: warped ply means wandering focus and inconsistent cuts, so buy small sheets (A4-ish) from laser-material suppliers rather than big-box 'project panels,' and store them flat with weight on top. For plywood, 'laser grade' means interior-glue, void-free cores — it cuts at noticeably lower power than construction ply of the same thickness.
Build a settings library as you go: every new material gets a test grid before it gets a project, and the grid gets labeled and kept.
Materials shopping list
Basswood sheet pack, 3 mm
The reference material — cheap enough to test freely, pretty enough to sell.
See options on Amazon →Laser-grade birch plywood
For structural projects: boxes, lamps, multi-layer art. Buy flat or fight every cut.
See options on Amazon →Slate coaster blanks
Zero-fire-risk engraving with premium results — the best beginner confidence builder.
See options on Amazon →Laserable leatherette sheet assortment
Patch and label material that's actually safe — confirm 'laserable' in the listing.
See options on Amazon →Laser marking spray for metal/glass
Extends a diode into stainless and glass marking — test grids absolutely required.
See options on Amazon →Frequently asked questions
Can a diode laser cut acrylic?
Clear acrylic: no, at any power — it transmits 450 nm light. Black opaque acrylic: marginally, on 20 W+ machines, with serious fume management. If acrylic is central to your plans, that's the CO2 laser use case.
Why won't my diode laser engrave white or light surfaces?
Pale surfaces reflect blue light instead of absorbing it. Fixes: a dark marking spray primer, higher power with slower speed (risking scorch halos), or choosing naturally darker material. For white tiles specifically, the 'Norton white tile method' (paint, engrave through, clean) works well.
Is MDF safe to laser?
Cuttable, yes — banned, no — but it's the smokiest common material thanks to its glue content. Treat MDF days as your exhaust system's stress test, and skip it entirely if your venting is marginal.