CNC setup
Surfacing Your CNC Spoilboard: The 20-Minute Job That Fixes Everything
Updated July 7, 2026
If your through-cuts leave a whisper of material on one side of the sheet and cut into the spoilboard on the other, your machine isn't broken — your bed isn't parallel to your gantry. Surfacing fixes it: one wide bit, one 20-minute toolpath, and every future job inherits a bed flat to a few hundredths of a millimeter.
Some links on this page are affiliate links. If you buy through them, The Maker Guide may earn a small commission at no extra cost to you. We only point at product categories we would compare ourselves. Details.
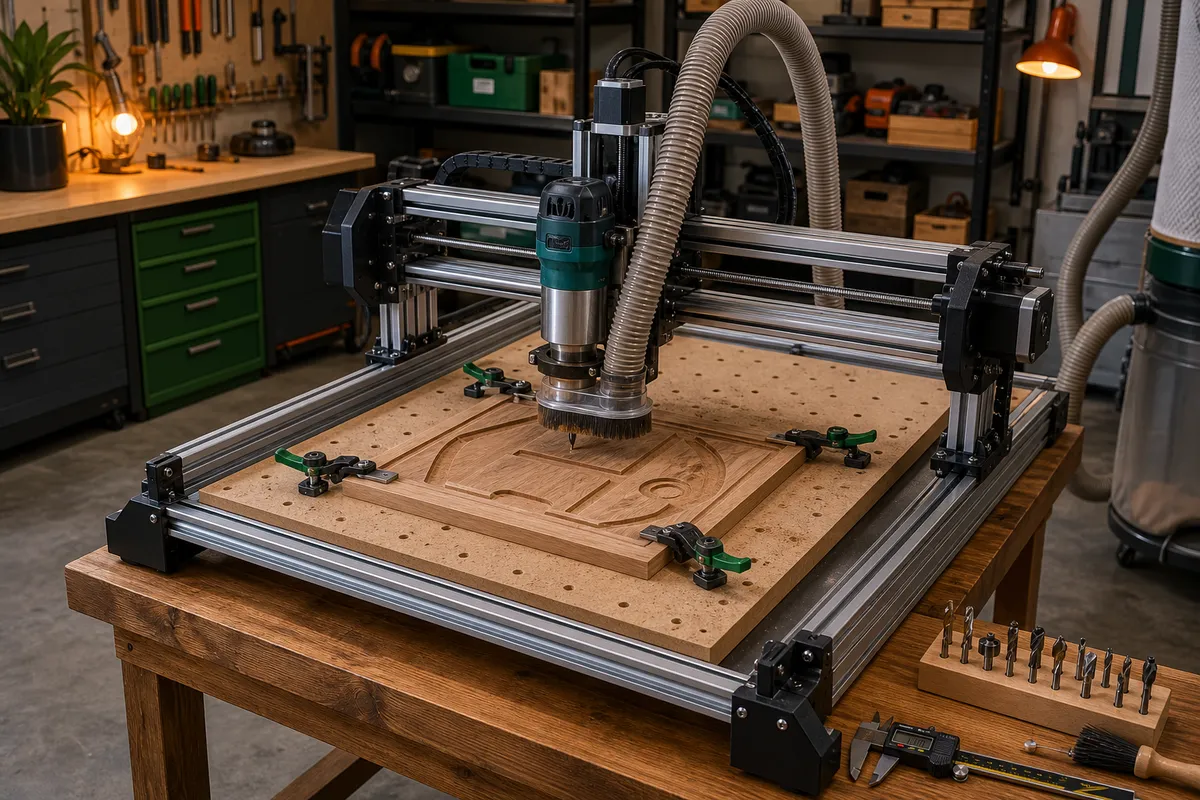
What surfacing actually corrects
Desktop CNCs bolt together from extrusions, and the bed ends up tilted relative to the spindle's travel — a millimeter of skew across 400 mm is completely normal out of the box. You can't shim that away accurately. Instead, you let the machine cut its own reference: skim the whole spoilboard with a wide bit, and the surface that remains is, by definition, parallel to the gantry's motion.
That flatness is why surfacing quietly fixes a family of 'mystery' problems: inconsistent through-cut depth, V-carves that get fat on one side of a sign, engraving that fades out across a panel, and vacuum or tape workholding that never quite grips.
The bit: one surfacing bit lasts years
Surfacing bits (also sold as fly cutters or spoilboard bits) are wide, shallow insert-style cutters. On a 4040-class machine with a 400 W–800 W spindle, a 1 in (25 mm) bit on a 1/4 in shank is the sweet spot — wide enough to finish the bed in ~20 minutes, light enough not to bog the spindle. Trim-router and VFD-spindle machines handle 1.5–2 in bits and cut the time in half.
Insert-cutter designs matter here: when an edge dulls (MDF is abrasive), you rotate or replace a $2 carbide insert instead of the bit. Cheap brazed versions work too — they just become disposable after a season of MDF.
The surfacing kit
1 in spoilboard surfacing bit, 1/4 in shank
The right width for 400 W-class spindles. Insert-style cutters mean you replace $2 carbide squares, not the whole bit.
See options on Amazon →2 in surfacing bit, 1/2 in shank
For trim-router or VFD spindle machines — halves the job time and leaves fewer ridges. Check your collet size first.
See options on Amazon →MDF panel, 3/4 in
Spoilboards are consumable. A replacement blank costs less than the time spent babying a chewed one — many makers screw a sacrificial MDF layer over the machine's slotted bed.
See options on Amazon →Straightedge, 18–24 in
The verification tool: lay it across the freshly surfaced bed and check for light underneath. Also finds cupped stock before it ruins a carve.
See options on Amazon →Dust collection you actually run
Surfacing MDF produces the finest dust the machine will ever make. A shoe, vac, and separator are not optional for this job.
See options on Amazon →The toolpath, start to finish
- Remove clamps and anything above bed level. Vacuum the slots — a chip under the cutter path telegraphs into the surface.
- Load the surfacing bit and zero Z on the highest point of the spoilboard (drag a piece of paper under the bit at several corners to find it).
- Create a pocket/facing toolpath covering the full reachable bed, with 40–50% stepover and 0.2–0.5 mm depth of cut. On a 4040 with a 1 in bit: ~2000 mm/min feed, full spindle speed.
- Run one pass. If low corners still show untouched (shiny) areas, drop Z another 0.3 mm and run again — repeat until the whole bed shows fresh cutter marks.
- Vacuum, then check with the straightedge. Re-zero your Z reference and update your CAM's stock-bottom assumptions: the bed is now thinner.
Threaded inserts and the grid question
Surfacing is also the moment to upgrade workholding: a grid of holes with threaded inserts (or T-nuts from below) turns a plain MDF slab into a fixture plate for cam clamps and toe clamps. Drill and insert first, then surface — the skim pass levels any insert that sits a hair proud, and you get a dead-flat bed with hold-downs everywhere.
Frequently asked questions
How deep should each surfacing pass be?
0.2–0.5 mm in MDF with a 1 in bit on a hobby spindle. Wide bits put a surprising load on small spindles — if the RPM audibly sags or the surface shows swirl ridges, take less depth or slow the feed. Total material removed is usually under 1 mm.
My surfaced board shows ridges between passes. What's wrong?
Either the bit isn't perpendicular to the bed (tram the spindle — shim the mount until a wide bit cuts without stepping) or the stepover is too high for a slightly tilted spindle. Ridges under 0.05 mm are cosmetic; anything you can feel with a fingernail means tramming is worth an afternoon.
Do I surface the machine's aluminum bed or add MDF on top?
Never cut the aluminum bed. Bolt or screw a 6–19 mm MDF sacrificial layer over it and surface that. When it's chewed up from through-cuts, unscrew it and replace — that's the 'spoil' in spoilboard.
Can I surface hardwood or cutting-board blanks with the same bit?
Yes — the same fly cutter is the standard tool for flattening end-grain cutting boards and slabs too wide for a planer. Use shallower passes (0.5 mm) and slower feed in hardwood, and expect to rotate the inserts sooner.
How do I know my machine needs surfacing rather than something else?
The fingerprint: cut depth varies smoothly across the bed (deep one side, shallow the other), but repeats exactly job after job. Random depth changes are loose Z or workholding; a one-time offset is a zeroing mistake. A consistent gradient is geometry — surface it away.